
Today I learned the steps for adding an image to my blog. If I don't write it all down, I will forget the steps within days, so here it is.
Steps for adding an image to a blog.
1) Sign in to Blogger and select New Post
2) Search for image from
http://search.creativecommons.org/#
from their Flickr, Google, Yahoo ... links. For this post I chose Flickr.
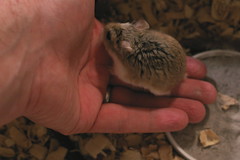
3) Choose your image. I think this little girl is trying to remember the steps to adding an image to her blog.
4) Select the All Sizes button then select the size of photo you want to use (select from: square, thumbnail, small, medium, large, original). Small is recommended for photos posted to blog.
5) Control click on the image and Copy Image Location.
6) Return to Blogger. Select Add Image icon and paste image location into the box Add An Image From The Web - check to see that the URL ends in .jpg.
7) Choose A Layout - I chose to put the image on the right hand side of the page.
8) Select Upload Image. Click Done.
9) Return to Creative Commons and highlight the URL in the web browser.
10) In Blogger, click on to select the image in your post, select Add a Link back to the image (photo icon), and paste URL into dropbox.
11) It is also recommended to cite your source back to the artist/photographer through a link in the post. Photographer's information can be found on the right hand side of the Flickr page. For example:
Little girl trying to remember how to add an image in a blog post by: Andrew Eick


No comments:
Post a Comment